Annotations in close reading focuses on getting meaning from the text itself—what the author is trying to say, how he/she says it, and what he/she means. Annotations are the notes a reader uses to keep track of the important ideas from the author. A reader can do close reading without annotating but to go back to the author’s ideas it is often important to have a record of our thoughts about the author’s ideas. I like to think of it as the things I would want to talk with the author about.
There are two main types of annotating that my students do as they are reading:
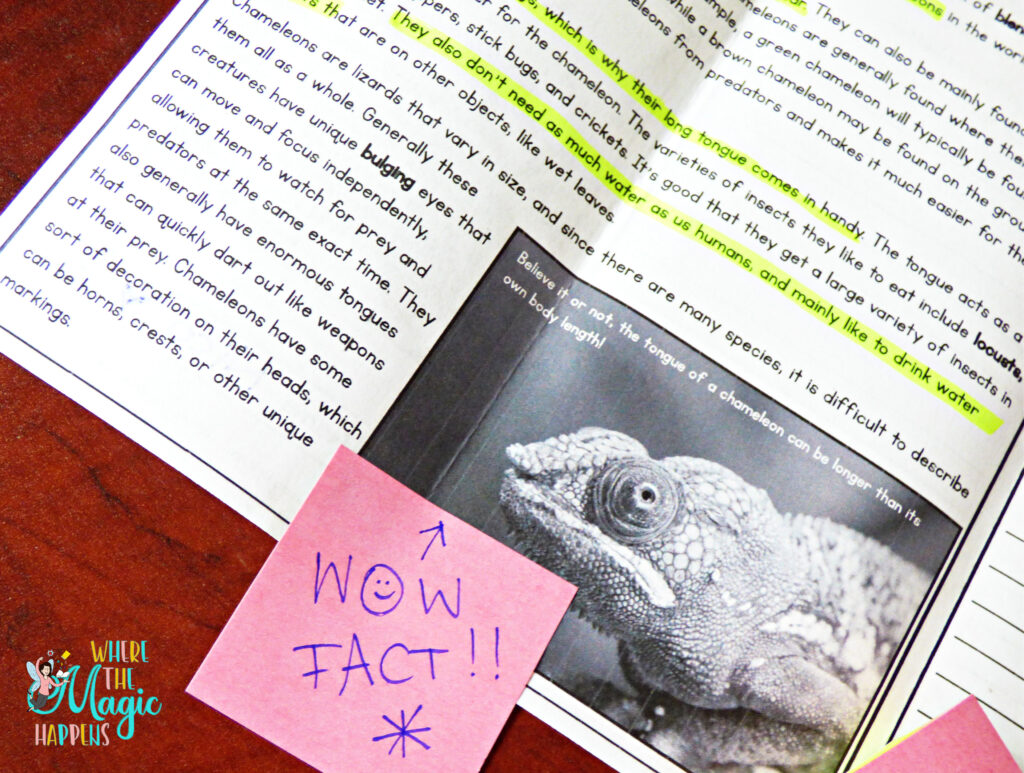
☻ General Annotating – This is the most common type of annotation in close reading that you see shared on blogs, articles, and Pinterest. This type of annotating is when the student reads the text with the purpose of simply understanding the gist of the topic or story. The students use general annotating symbols and directions that work with any text (making predictions, making connections, interesting facts, etc.). This type of annotating works well when the students are reading a text one time for a single purpose or during the initial read of a text. This is the type of annotating we teach our younger readers during shared or guided reading lessons.
☻ Specific Annotating –When students complete this type of annotating, they have a specific purpose in mind and are looking for textual details, facts, and evidence that align with that purpose. As you can probably already tell, this type of annotating lends itself to close reading because each read of the text has a new purpose. Specific annotating works well for literature circle discussions and literary analysis so is more appropriate for readers who are a bit more sophisticated in their reading purposes. Learn how to set-up your close reading routines HERE!!
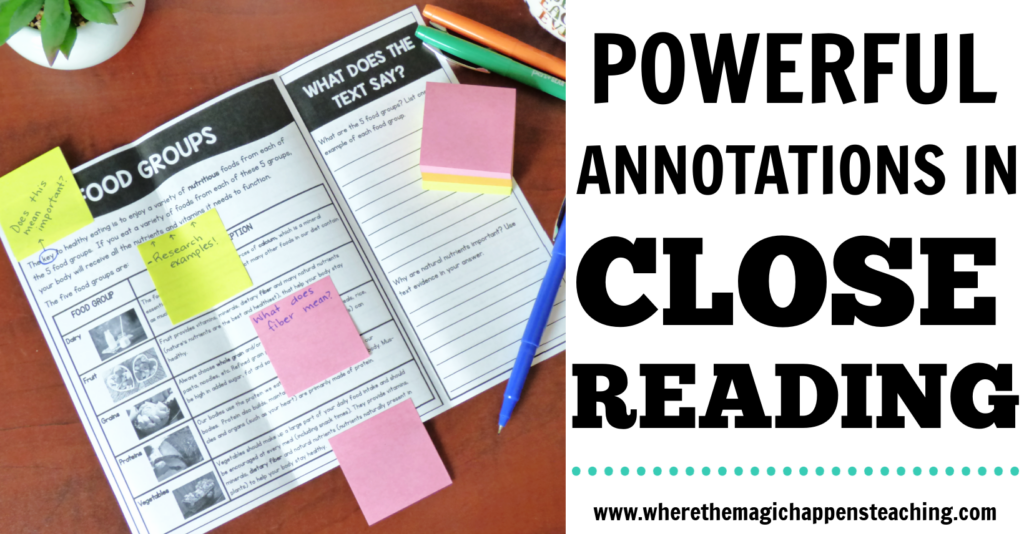
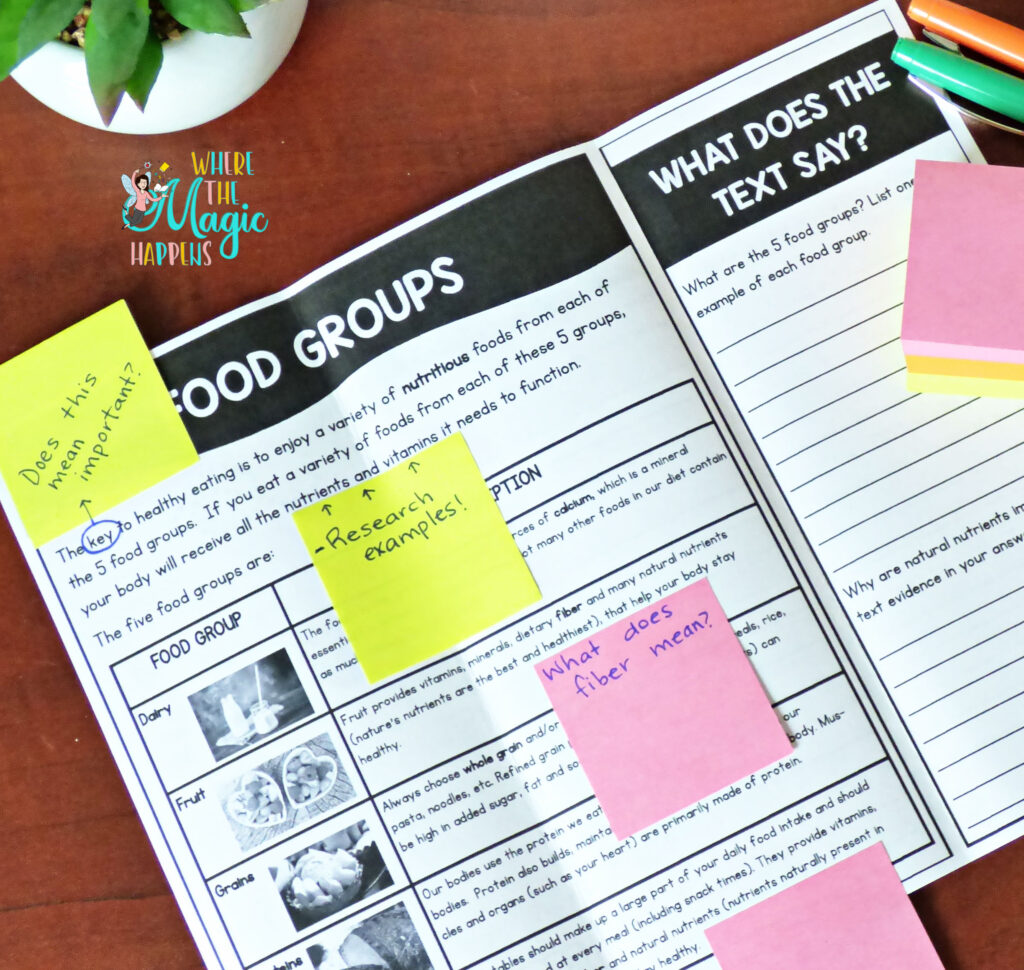
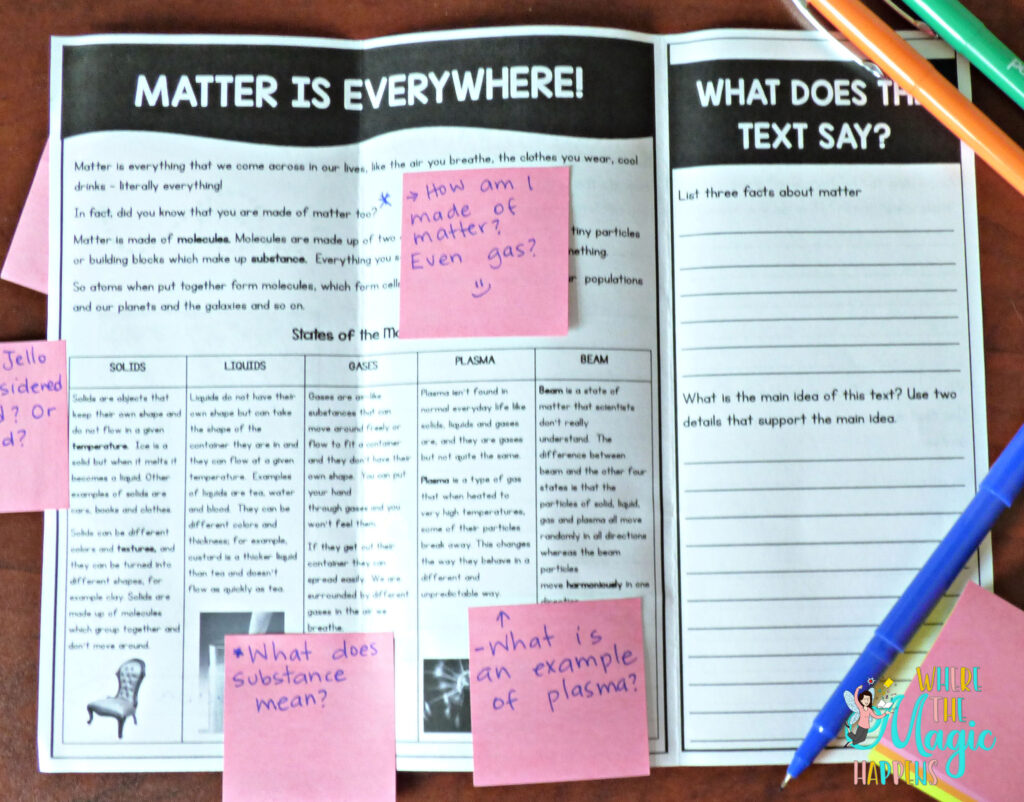
The close reading brochures used in this article can be found in my TPT shop and my website!
Readers do annotations in close reading when:
•take notes
•flag
•highlight important details while they are reading.
We annotate what we are reading to:
•Focus
•Understand the details
•Keep track of our ideas
•Prepare to talk
•Prepare to write
When it comes to annotations in close reading, the children can decide on symbols next to the ideas on the chart that will help them think about the ideas. I prefer to make anchor charts with the children, even though you can purchase charts or find them on teacher websites. I find the charts are more meaningful when the children have a part in the creation of them.
Just as students are taught to read with a purpose, they should also be taught to annotate with a purpose. Teaching students to annotate with a purpose will help them focus on what is most important about the text. When teaching annotations in close reading, I model and encourage students to use the following symbols:
•Underline key ideas and major points.
•Write a ? next to anything that is confusing, such as unfamiliar words or unclear information.
•Circle key words.
•Put an ! next to surprising or important information or information that helps you make a connection.
These four symbols are more than enough to help students begin to annotate text. In fact, you might want to teach and model the first two symbols and then add the others. We have all seen examples of annotations where almost everything is marked up. Clearly, there is a lack of understand of what it means to annotate when this happens. I also like to have beginning annotators draw a picture of their big “aha” from the text as a way of capturing their thinking. The simple example below is a great start at annotating!
Here are the steps I follow when preparing to model how to annotate:
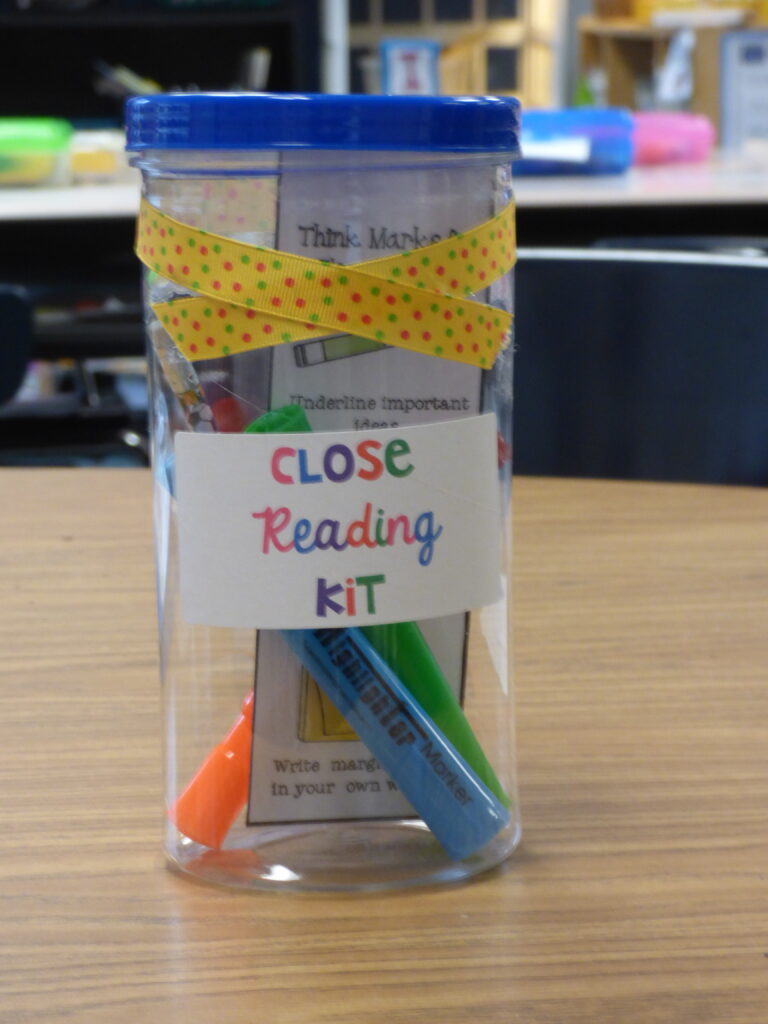
1. Prepare my materials – The materials I use are an engaging text broken up into readable sections (two copies-one to use as I prepare the lesson, one to use during the lesson), a focus prompt or question to start the process, and an annotating tool (this can be as simple as a pencil or highlighter). If I am using an actual book, I use sticky notes to mark the potential annotations.
2. Preread the text – Read the text prior to instruction and annotate it with the focus prompt in mind. Doing this beforehand will allow you to ensure the focus prompt/question is a good fit for the text and that you have a variety of details to model the annotation.
And here is what I do to model the annotation process with my students:
1. Introduce the text and focus prompt/question to the students just like a regular book introduction. I explain that I will be reading this text with the specific focus in mind. While I am reading the text, I will annotate details that will show my understanding of the text and the focus prompt/question. I also explain that the annotations I choose will help me discuss the prompt/question.
2. Read through the text, section by section. After reading a sentence or section, stop and do regular think alouds. I do two different types of think alouds:
♥Stop and Annotate – When I get to an obvious detail, I will pause my reading and explain to the students that I am annotating this detail and why.
♥Stop, Reflect, and Then Annotate – I also model how to stop, reflect, and annotate after reading a section of text. To do this, I read a paragraph and then stop and think aloud about what details I can annotate that match my focus question. I invite the students to help me find details as well.
3. When I am done reading and annotating the text, I will show the students how to use the annotations to discuss the focus prompt or questions. I do this simply by referring to the annotations (by pointing and using the same words) as I discuss the text. In addition to modeling how to annotate a text with specific purposes, make sure you explicitly model how to use the annotations to support the drawing and the written and/or verbal discussion of the text. This will help your students see the purpose behind annotating and help them find greater success with this important strategy.




Leave a Reply